Adobe Photoshop Tutorial
click on images to see their real size
Creating a text effect as like a toxic waste was split on an asphalt.

Let’s start with opening a new document with a size 400x200 px. Fill it with a #505662 color:

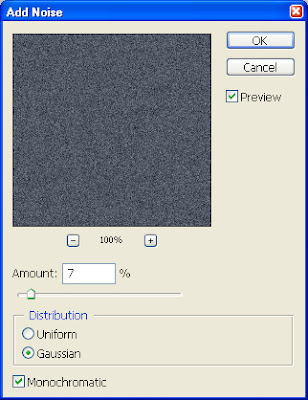
Apply to it the following Noise settings, and our asphalt background is ready:

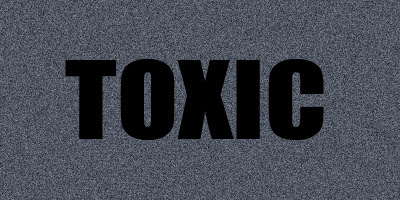
Now, create a new layer, and write a word “TOXIC” or whatever you want. I’ve used the Impact font with these settings:

Rasterize it, and set background color to #30ff00 and foreground color doesn’t matter, like here:

After that, go to Filter > Brush Strokes > Spatter, and apply there the following settings – Spray Radius: 15, and Smoothness: 5, then click OK. You should see something like that:

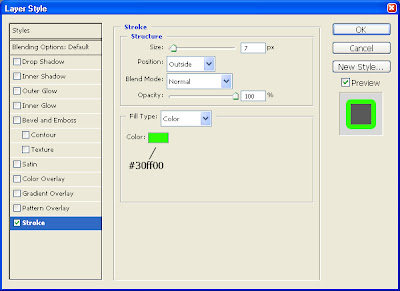
Now add this layer style:
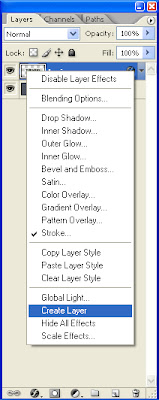
And right click on an “Indicates layer effects” icon, then choose “Create layer”
Duplicate the Stroke layer:
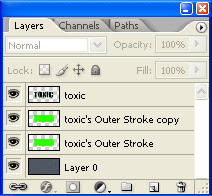
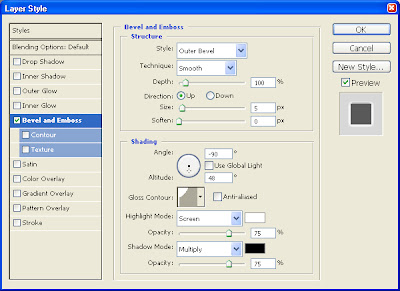
Now apply to our “toxic's Outer Stroke copy” layer these settings:
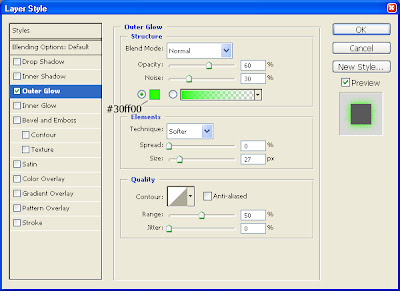
And to our “toxic's Outer Stroke” layer – these settings:
Voila:

Copyright © http://megatutorials.blogspot.com
