Adobe Illustrator Tutorial
click on images to see their real size
In this tutorial, you will learn to create an “about company” icon in Illustrator. After a little treatment in Photoshop, the result can be like this:
Well, lets start with opening in Adobe Illustrator a new document (A4 size or whatever you like), and using a “Pen tool”(P) – draw this simple shape:
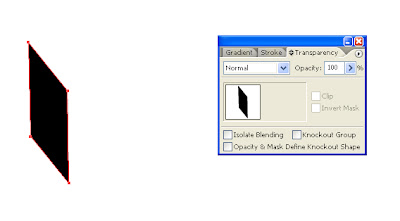
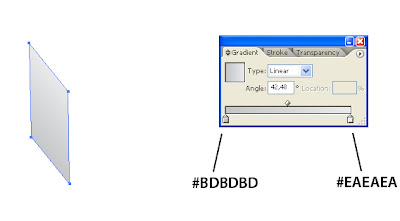
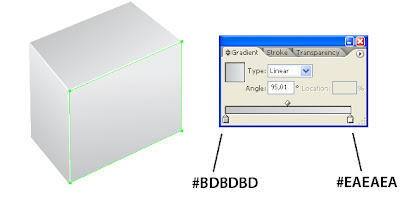
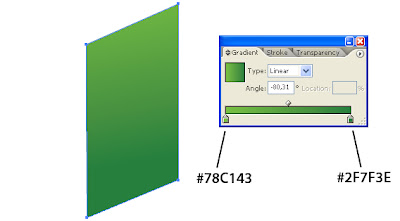
It is going to be our first wall. Now apply to this shape a gradient, as it is seen below. And remember, that the angle is important.
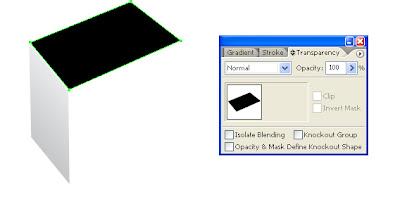
Again with a “Pen tool”(P) – draw next shape, that is going to be our roof.
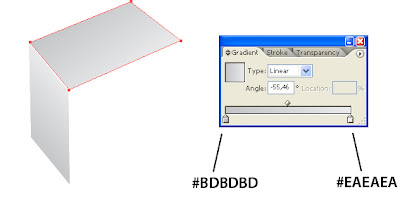
Also apply to this shape a gradient, as it is seen below, and don’t forget about angle.
Draw next shape that is going to be the front wall.
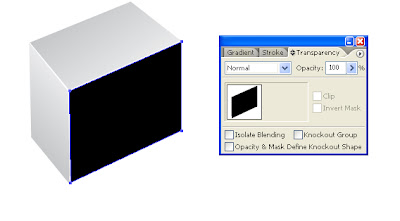
And to this shape we will also apply the gradient as it is seen below. The angle is important, remember? :)
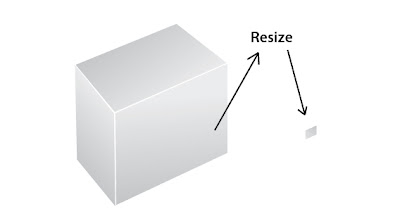
Now, duplicate our front wall (Ctrl+C and Ctrl+V), and resize it, as it is seen here:
Apply to the duplicated shape this gradient (angle is still important)
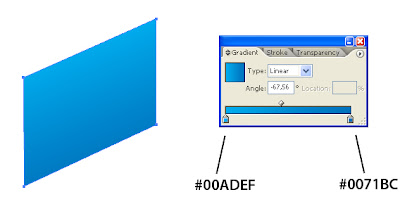
The window (I forgot to tell you, that it going to be our window :)) is not ready, without next two steps:
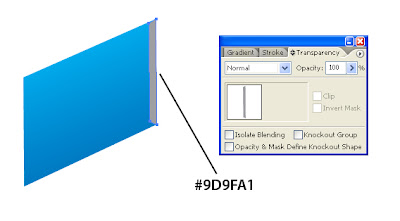
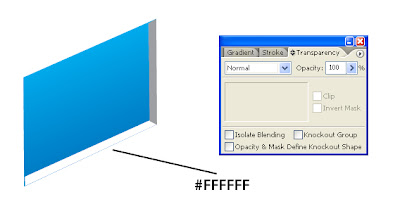
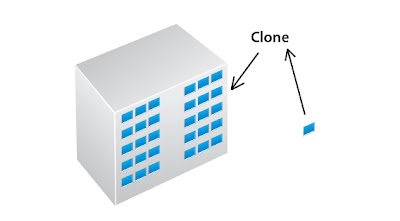
So, select the window, that is ready now, and clone it on the front wall (Alt and drag).
The next shape that we draw (using a “Pen tool”(P) is going to be our door
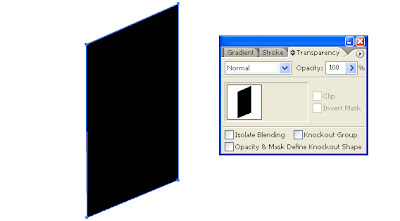
Apply this gradient and don’t forget the angle:
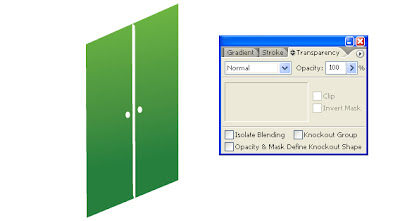
And don’t forget to separate doors and draw a door-handle.
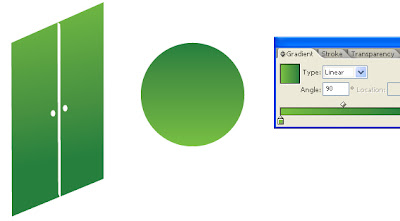
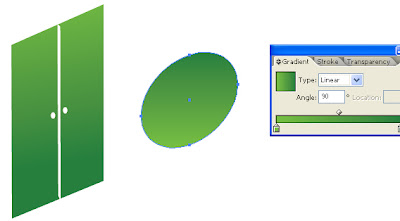
Now, you can take your company logotype, and put it on the front wall. Let’s imagine that this circle with the same gradient as doors - is our logotype:
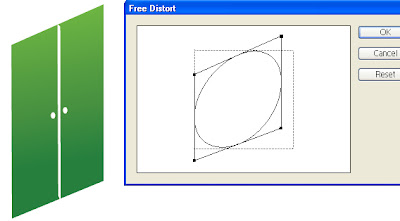
We have to make it lying in the same plane as doors and a front wall. So go to menu Filter > Distort > Free Distort and transform your logo by dragging the angles of the frame with your cursor. Like this:
It looks much better now:
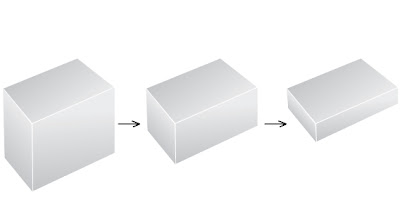
Our next step is creating the small room on the roof, where the lift engines are. For that, we are going to duplicate our building’s three walls and transform it like on this picture:
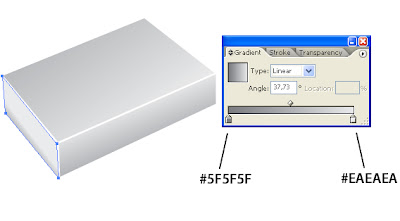
Now, select one by one these walls, and apply gradients as it is shown here (with the respective angles of course):
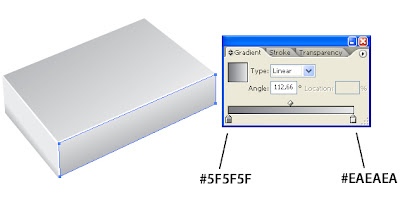

The last step. Duplicate the roof, resize it and apply the gradient as here:
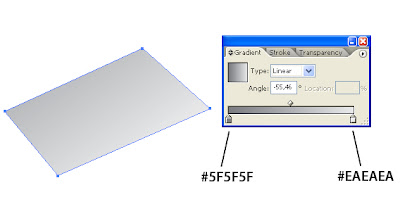
It is our broadstep, place it in under the door. Voila:
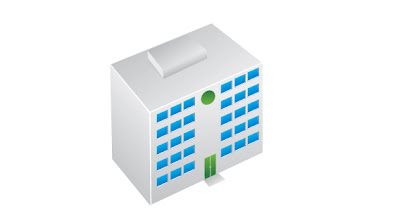
In the final result, I’ve added in Photoshop some shadows and a background:

Copyright © http://megatutorials.blogspot.com
