Adobe Photoshop Tutorial.
click on images to see their original size!
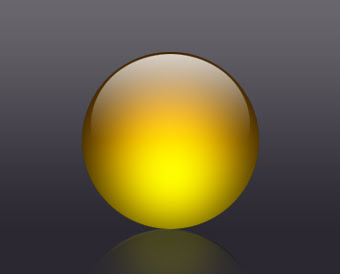
Learn how to create this nice glossy orb:

Let’s start with opening a new document 340x274px. Create a new layer, and fill it with the #2b2831 color

Now, take a gradient tool, from white to transparency, and drag it to the middle of our document, so it must look like this:

Now, draw a black circle:

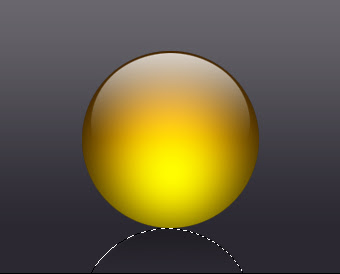
Duplicate it by pressing Ctrl+J, move it down, so it touch the bottom of first circle, and press in the layer palette (F7) Add Layer Mask button. After that, select a gradient from white to black, and in the mask – apply it from the tom to the middle of the circle. Change the opacity of the layer from 100% to 23%. It is going to be the reflection of the circle.

Now, take the Brush tool, choose a color # ff7e00, and make the Master Diameter of the brush 222 px, and Hardness – 0 (press the right button of the mouse to change these settings), and click right on the middle of the circle:
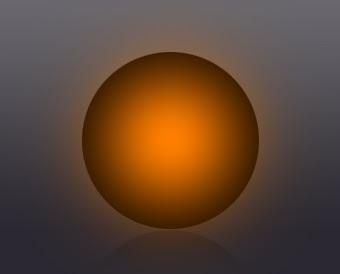
After that, change the Master Diameter of the brush to the 195 px, color must be # fffc00, and this time click in a little bit lower, than the first time. Make sure that both times you’d click in the same layers. That is what you must get.
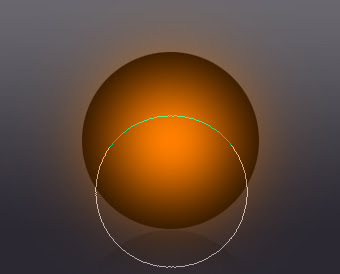
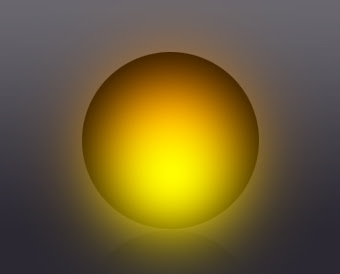
Now, remaining in this layer, Ctrl+click on the circle layer (selection) and press Add Layer Mask. You will find something like this.
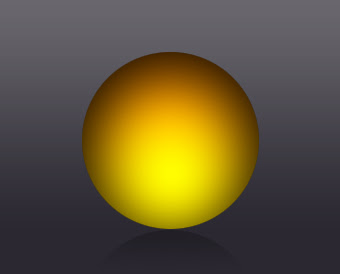
After that, once again Ctrl+ click on the circle layer (selection), create a new layer (make sure it is upon all other layers). Go to menu Select – Modify – Contract by 2 px, press ok. Now take the gradient tool from white to transparency, and apply it, as it is shown:
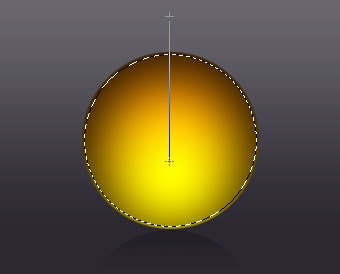
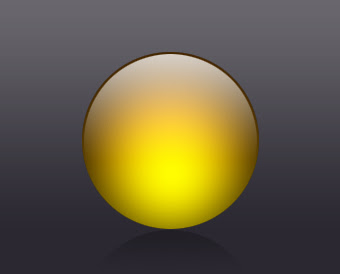
Now, press Ctrl+T (transform), and transform it like this:
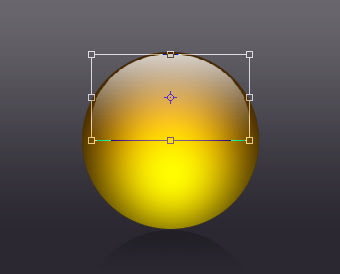
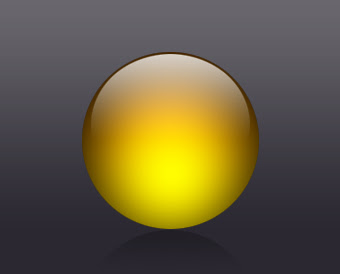
Now, select our reflection layer by Ctrl+click on it, create a new layer, and using a brush tool with a color # fef900 and opacity of the brush 17% - click somewhere in the upper part of the reflecion. That's it!:
Copyright © http://megatutorials.blogspot.com