Adobe Photoshop Tutorial
click on images to see their original size
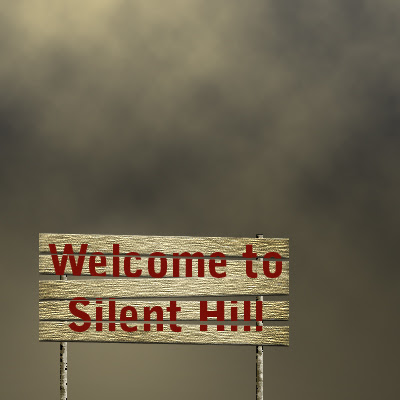
Learn to create a signboard "Welcome to Silent Hill" (or wherever you want) in horror movies style.
Let’s start with creating a new document, with 400px by 400px with a transparent background:
Create this gradient, with colors from #000000 to #aea27d. Observe that the gradient is not equal, the black pat is bigger:
 Now, create a new layer and in the tool palette set the foreground color to #d6c795 and background color to #444444:
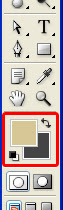
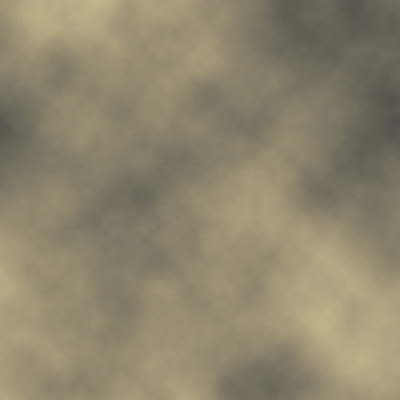
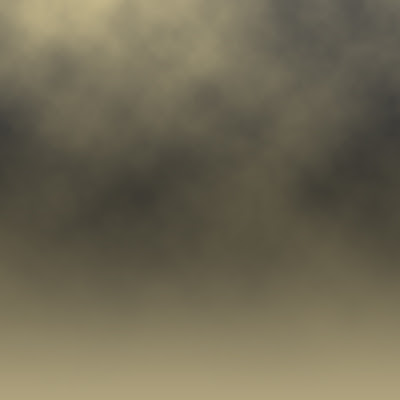
Go to menu Filter > Render > Clouds. That is how your picture must look like:
Now, add layer mask to our layer with clouds:

Select a gradient tool with a white-to-black gradient and drag it in the mask from very top of the document to the bottom. So only half of the clouds remained visible:
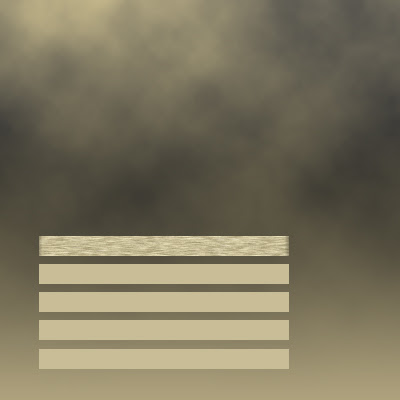
Now, create a new layer. With a Rectangular Marquee Tool make a selection area about 250x20 px and fill it with a # c8bd97 color. That is going to be a board:
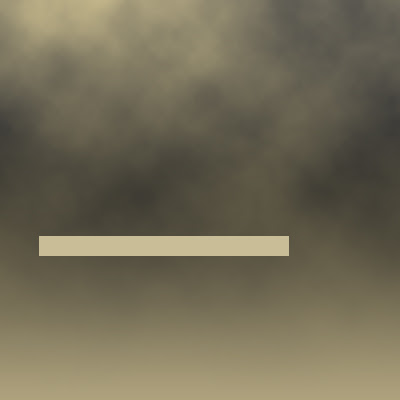
Duplicate this layer four times to make five boards:

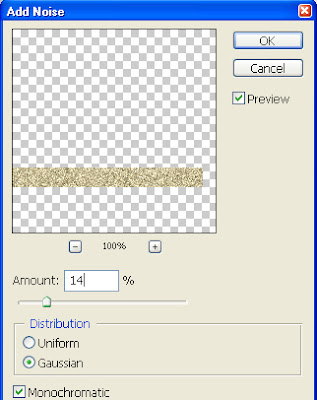
Now, select first board by Ctrl+click on a layer icon in a layer palette (F7), go to menu Filter > Noise > Add noise, and add noise with a following settings:
Go to menu Filter > Blur > Motion blur, and add this filter with a following settings:
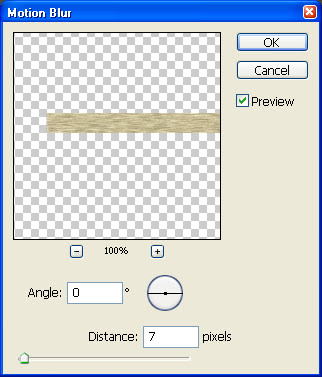
First board is almost ready:
Press Ctrl+D to deselect, and repeat this two filters to other boards:

Now apply to each boar this Bevel and Emboss effect:
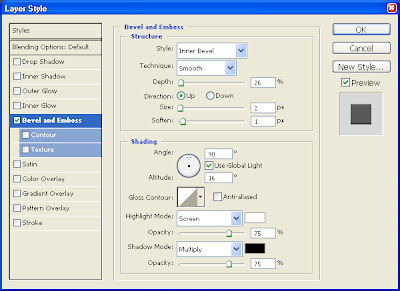
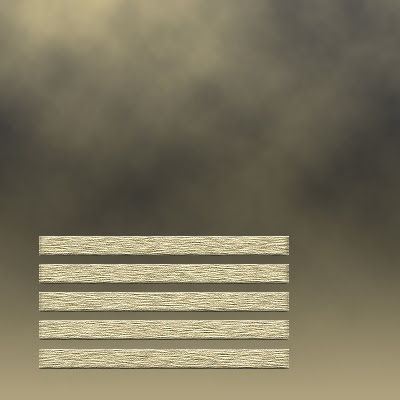
That is how they must look now:

Now, to make our boards look more realistic, add to each board filter Sharpen (Filter > Sharpen > Sharpen) two times! Two times – not just once! :). They must look like this:
Now one by one, go to Edit > Transform > Rotate, and rotate a little bit each board in different directions as it is shown:

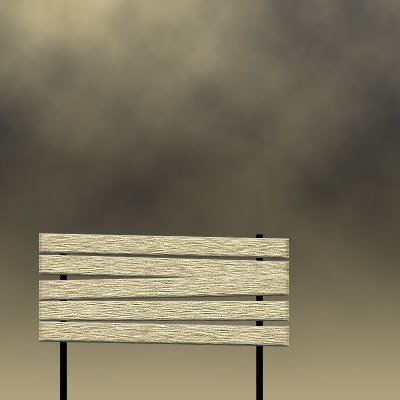
Using Rectangular Shape Tool – draw two rectangular shapes as it is shown below. I’ve used black color, but it doesn’t matter which one you will use:
Apply to each of our shapes this gradient:
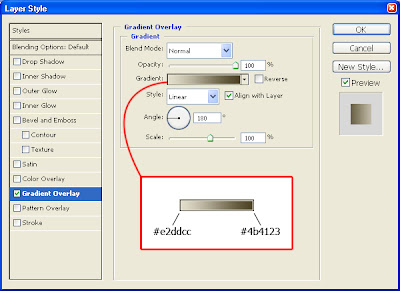
That is how it must look like:
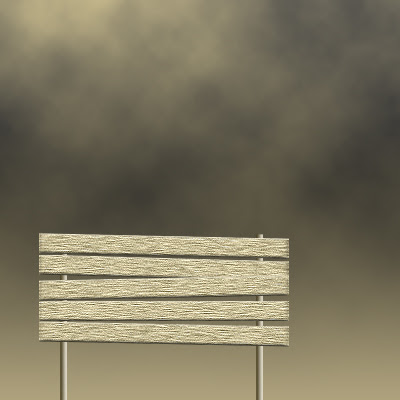
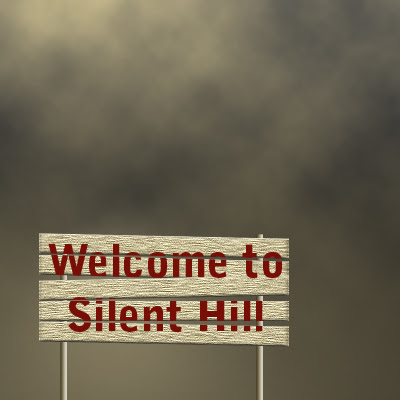
Now, select each of our board levels and merge them into one (Layer > Merge Layers). After that, create a new layer and write “Welcome to Silent Hill” with a #770f07 color.
Rasterize our text layer, than marquee our boards layer, go to menu Select > Inverse, to invert the selection. Make sure that the text layer is active, and press Delete – to clear superfluous text.

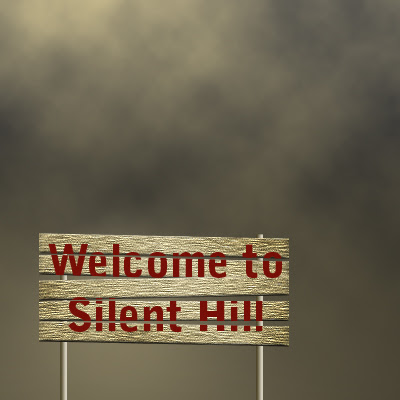
Now, go to our background layer. Apply to it - menu Filter > Render > Lighting Effects, with this settings:
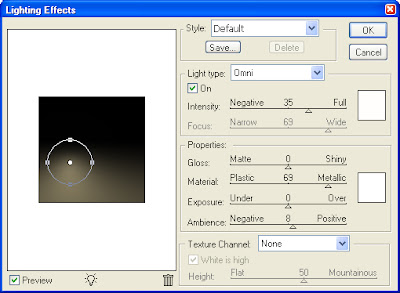
That is what we must get by now.
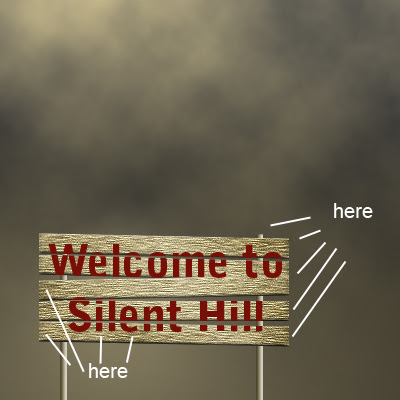
Now from a Tool Pallete – take a Burn Tool with a following settings:

And apply it to the places where it is shown:
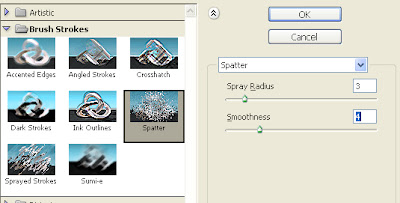
Now, merge our two rectangular shapes, go to Filter > Brush strokes > Spatter, with a following settings:
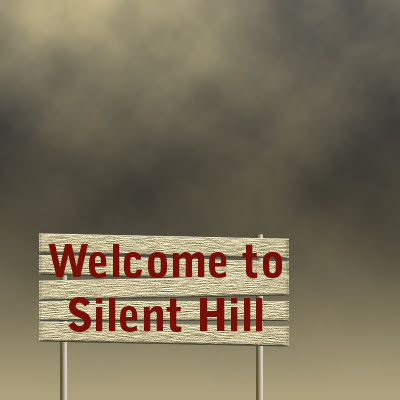
Voila! The scary (or not too scary :)) picture is ready!
Copyright © http://megatutorials.blogspot.com


